Digital Academy Blog

CUTTING OUT DETAILS WITH THIS example

Learning cutting out hair from a background, it is helpful for digital printing and textile patterns as we often want to use our hand painted images och drawings /non computer work, often wit fine lines and details in them,

This work is not so much different from cutting out hair in the photo. 

Selections

To start, find the color channel which shows the maximum amount of contrast in the hair.
Duplicate that channel and bring up the levels panel (CMD/CNTL + L). We can bring the black point up to create very intense contrast in the image. The darks should be extremely dark but be sure not to overdo it! A good way to check is if the edges of the hair look too coarse, you can decrease the darkness a little bit.
All of this is done in the channels tab, but it needs to be turned into an actual usable selection. Hold CMD/CNTL and click on your channel copy. This selection will remain, and you are able to go back into the layers and edit from there. Click on the layer mask icon, and everything that was dark will turn invisible. All you have to do is invert the selection (CMD/CNTL + I). If parts of the image are transparent that shouldn’t be, you can paint over the layer mask where it needs to be filled in. 

To take care of fringing (light or white part around the edges of the hair), clipping masks will come in handy! 

-Create a new layer
-Right click, and select “create clipping mask” 
-Use the brush tool or clone stamp tool to fill in the white areas

Now, whatever work is done on that layer will only apply to the underlying layer. In other words, your new layer is clipped to what’s under it. 

Change the clipped layer from normal to darken- this will only effect the whitest part of the hair. Use the clone stamp tool to paint over the light parts of the hair.

About layer and vector masks

You can use masks to hide portions of a layer and reveal portions of the layers below. You can create two types of masks:

https://helpx.adobe.com/photoshop/using/masking-layers.html

  • Layer masks are resolution-dependent bitmap images that are edited with the painting or selection tools.

  • Vector masks are resolution independent and are created with a pen or shape tool.

    Layer and vector masks are nondestructive, which means you can go back and re‑edit the masks later without losing the pixels they hide.

    In the Layers panel, both the layer and vector masks appear as an additional thumbnail to the right of the layer thumbnail. For the layer mask, this thumbnail represents the grayscale channel that is created when you add the layer mask. The vector mask thumbnail represents a path that clips out the contents of the layer.

Working with Photoshop - verktyg , tolls

This is a beginners level tutorial on how to use layers, adjustment layers and layer masking in Photoshop. If you've been confused by layers or layer masking and want to go back to basics then this is the video for you.

Andra avsnittet i min videoserie om Photoshop för nybörjare. I detta avsnittet går vi igenom det grundläggande om lager och hur man skapar en lagermask för att till exempel maskera bort något ur en bild.

grunderna i Photoshop! I detta avsnittet går vi igenom grunderna i att använda Klonstämpeln och Smart Lagningspenseln.

Texture övning


Det här är en bra övning för att komma igång inför digitalt textiltryck workshopen.
Gör såhär:
1. Öppna en fotografisk bild eller en annan mönster som du har i dator.
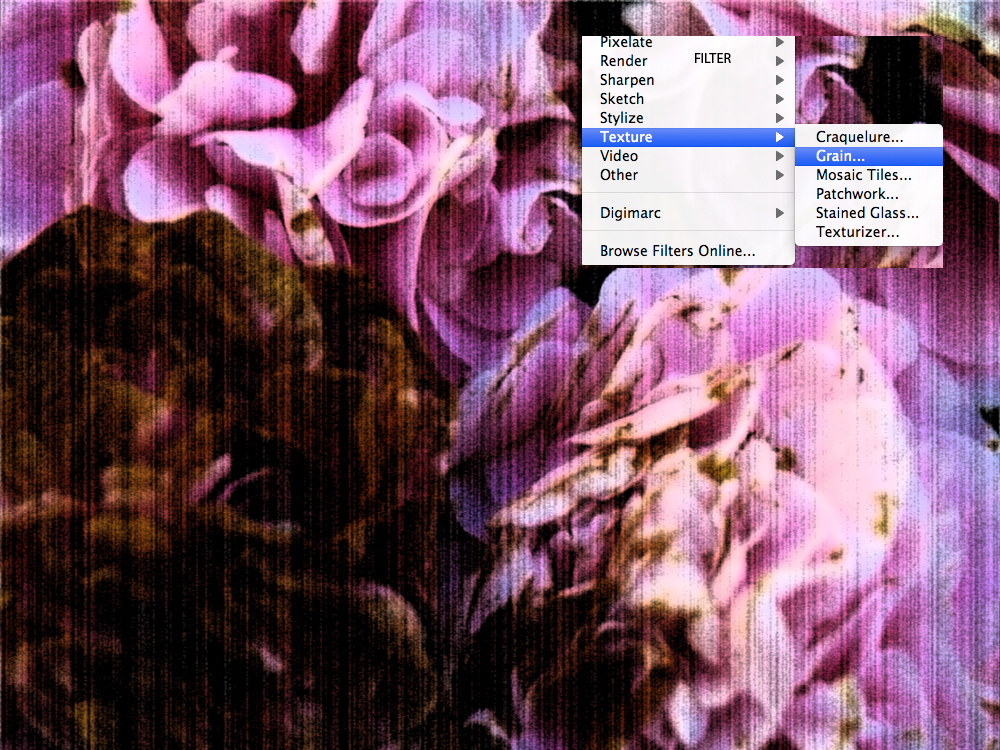
2. Testa de olika verktygen som alla ligger under fliken "FILTER" eller "filter gallery".

I vissa fall kan det vara svårt att hitta det själva filter gallery beroende på den egna Photoshop versionen:

hitta.jpg

Photoshop grunder

Hej! Postar här blandat info och övningar som jag samlade här för Baskursen i Photoshop för textiltryck.
Om du inte alls kan Photoshop rekommenderar jag starkt att kolla genom postade här funktioner och menyer i photoshop, det kommer att bli intensiva 2 dagar och det har visat sig att  förberedelse kan hjälpa väsentligt i hur mycket man får ut från kursen. Bilder är frpn Photoshop  CS3 men det ser likadant ut mer eller mindre i alla CS versioner. Många funktioner och menyval är likadana i olika versioner. Du kan hämta Photoshop gratis och prova en begränsad tid -ADOBE

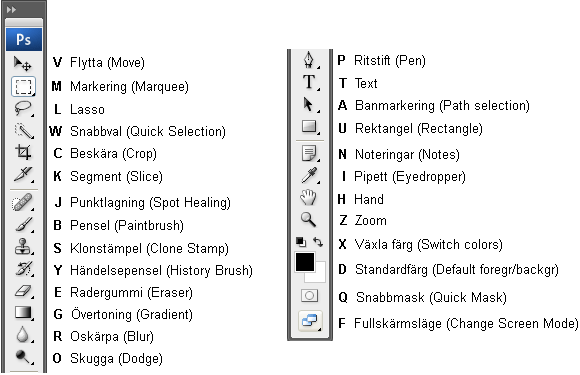
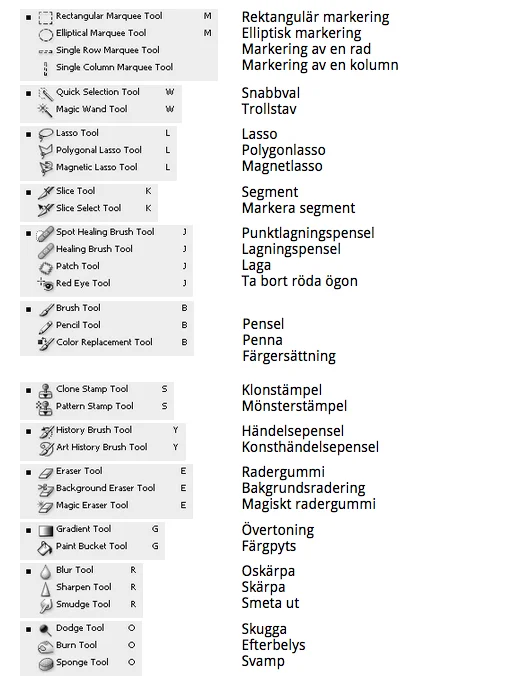
Verktyg i Photoshop: Skriv ut och ta med dig om du inte är bekant med verktygen.  Grupper av verktyg (nedan) finns under alla verktyg med pilsymbol.  Använd Shift+kortkommandot för att växla mellan och välja undergrupper.


Verktyg i Photoshop: Skriv ut och ta med dig om du inte är bekant med verktygen.

Grupper av verktyg (nedan) finns under alla verktyg med pilsymbol.
Använd Shift+kortkommandot för att växla mellan och välja undergrupper.

N2 Öppna ett photo eller egen mönster i photoshop och se om du kan 
följa uppgiften som finns HÄR. Det spelar inte någon roll hur bra det går
men du kommer att öka kunskapen om Photoshops miljö. 

Lucka till!


Photoshop Filter Övning

Hej!
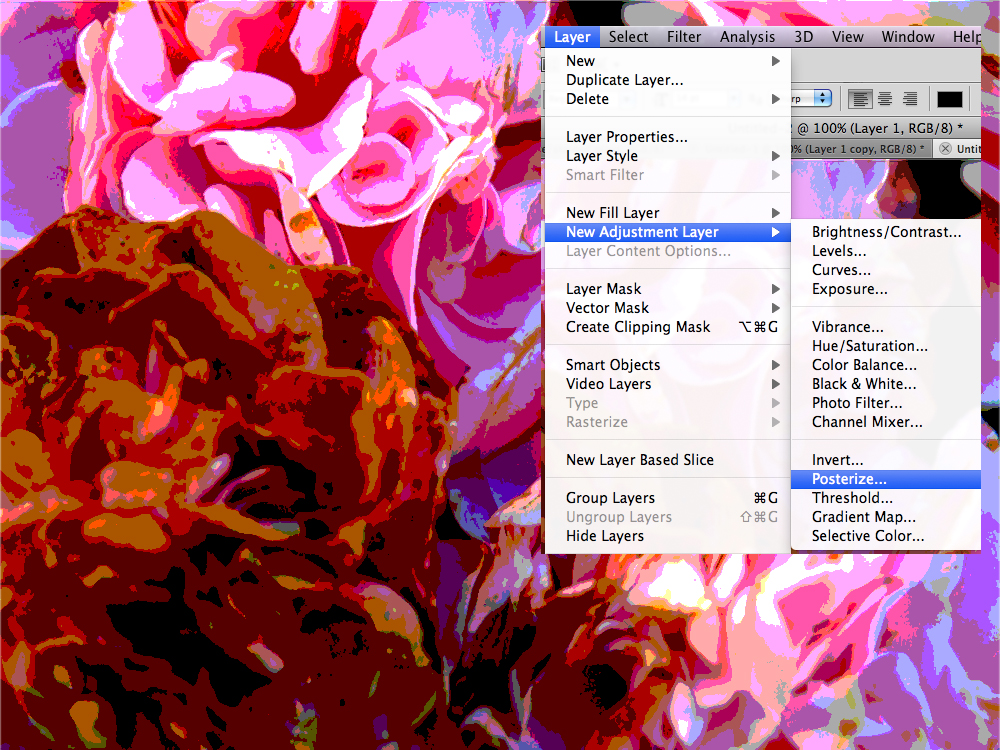
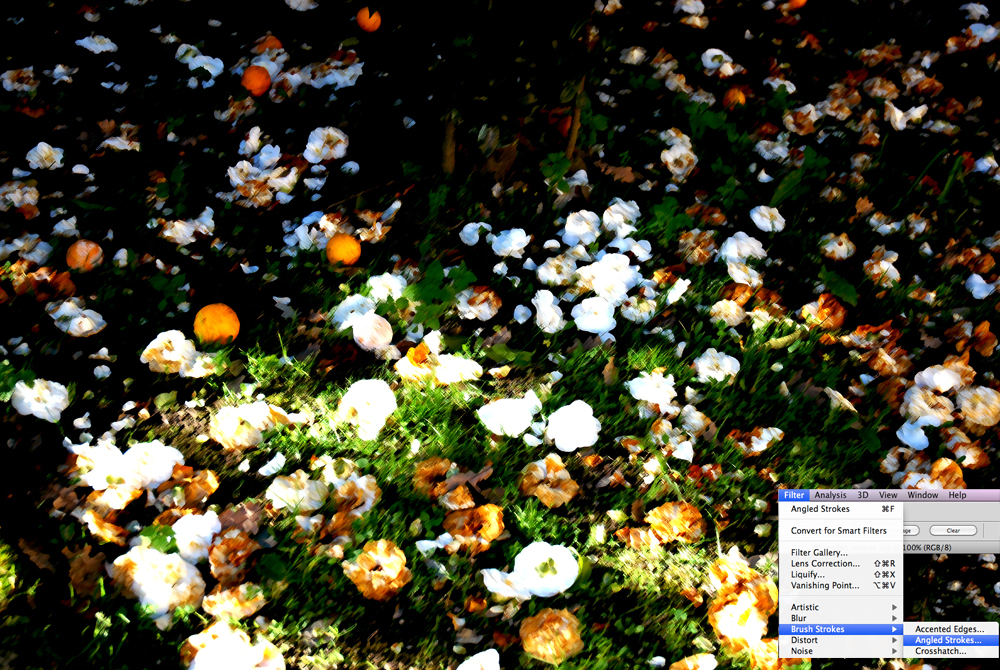
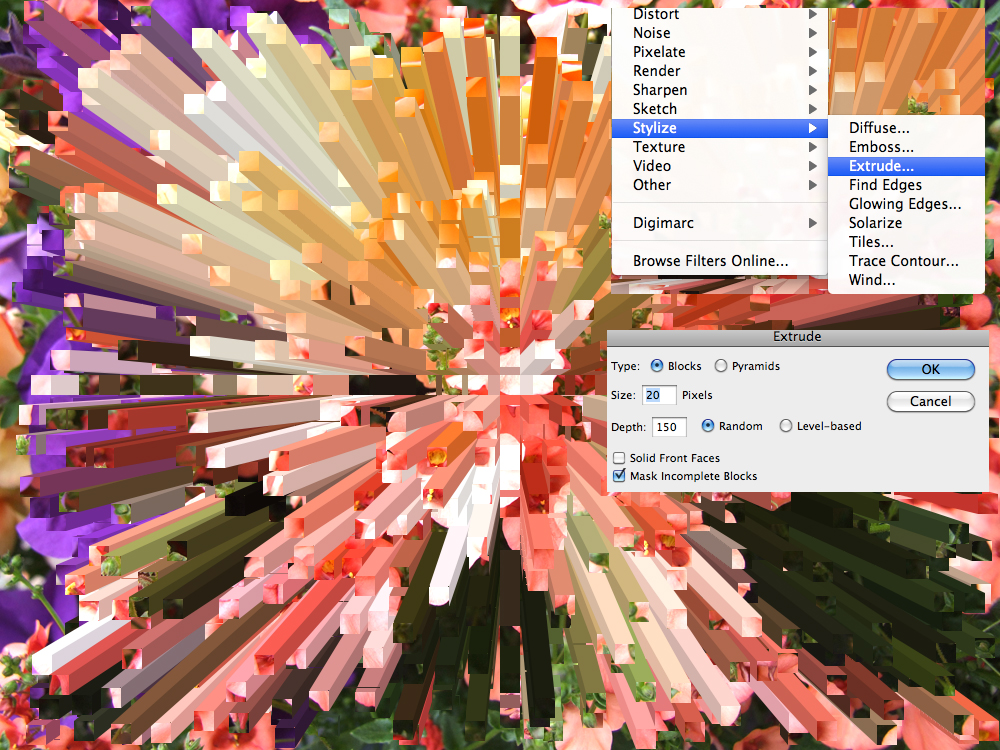
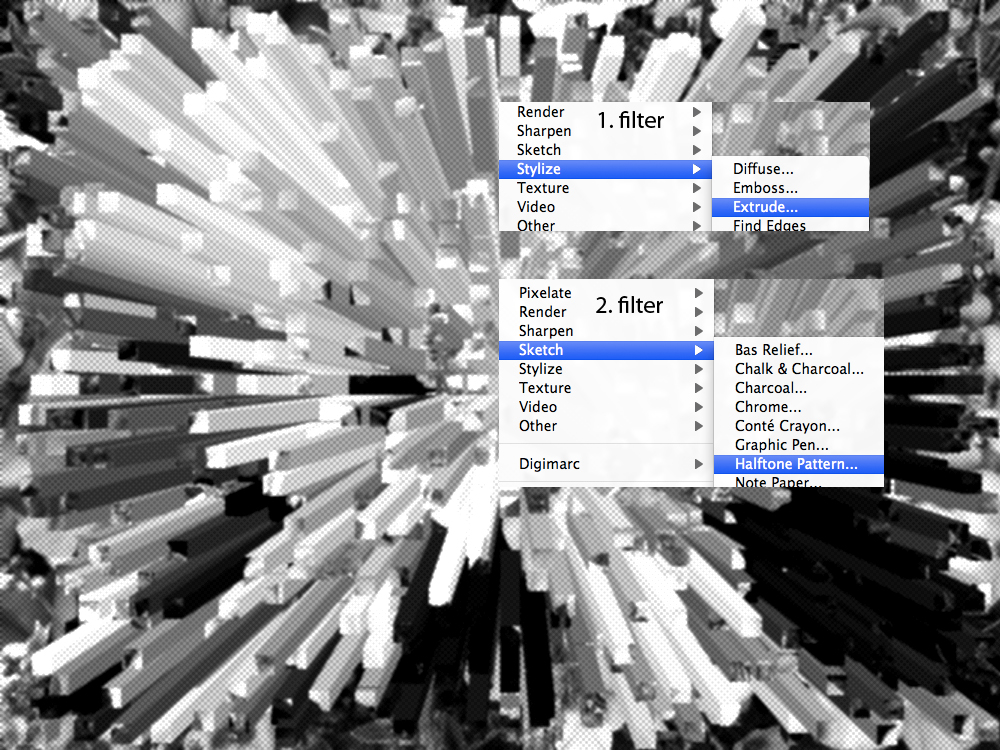
Här hittar ni en övning som är tänkt för att lättare hitta i photoshop, samt bekanta sig med Photoshop-effekter. Kan vara  m. användbar senare för att jobba med original för digitaltryck. 

Gör så här;

-ta fram en bild eller original
-experimentera med funktioner i Photoshop.
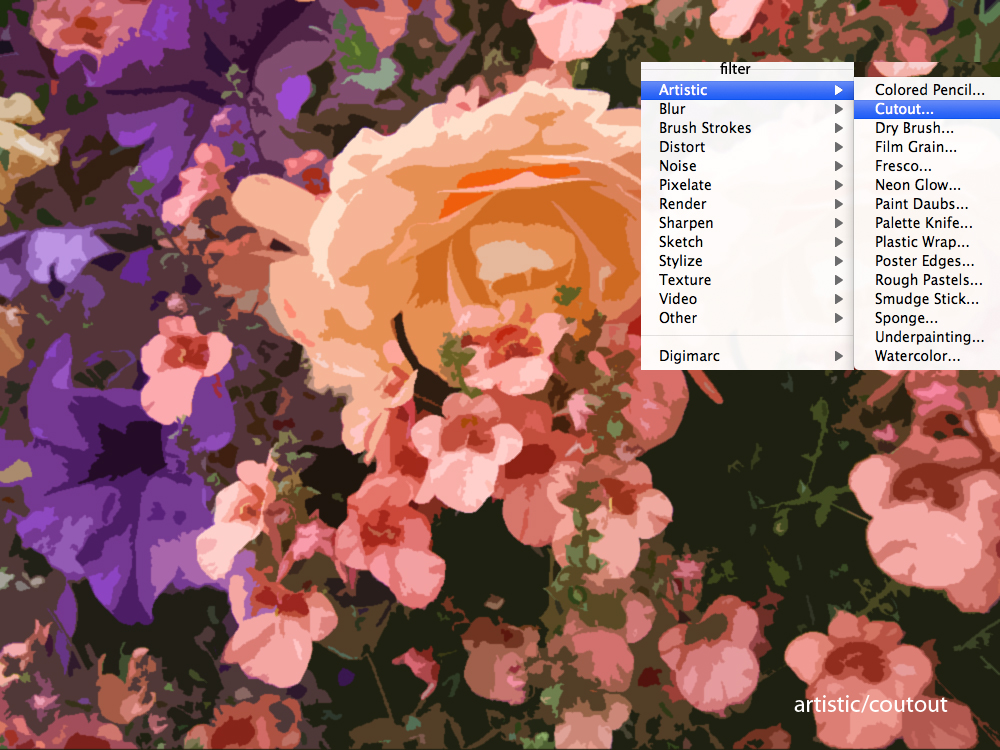
Det flesta av funktioner hittar du i Photoshop under "FILTER / Artistic".

Se  nedan på exempel.

filter.jpg

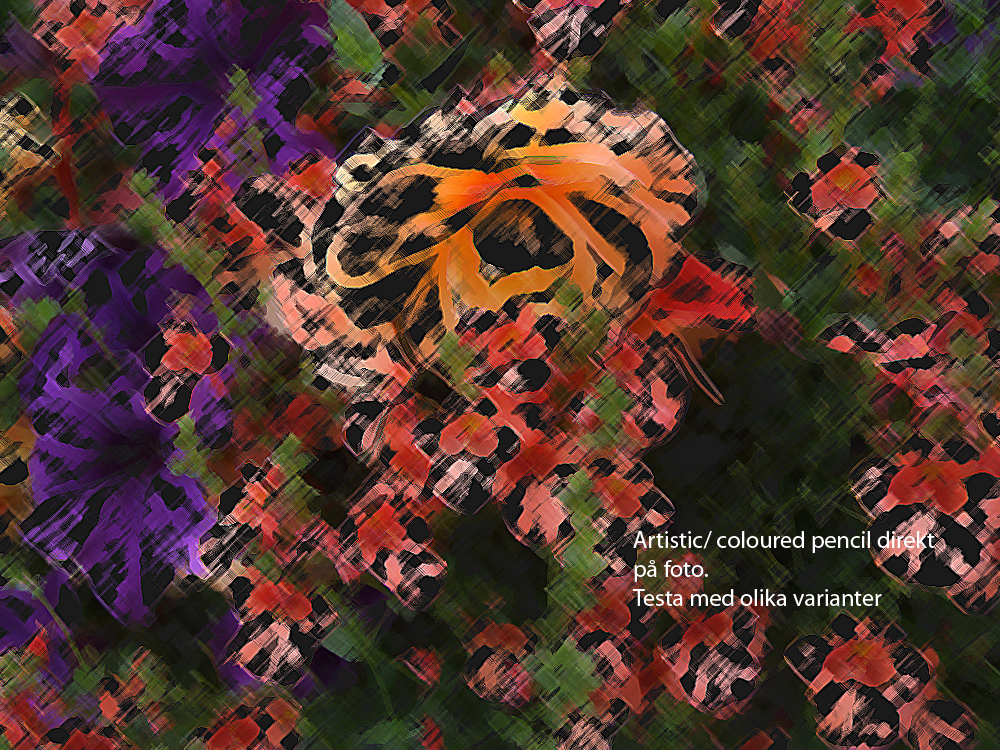
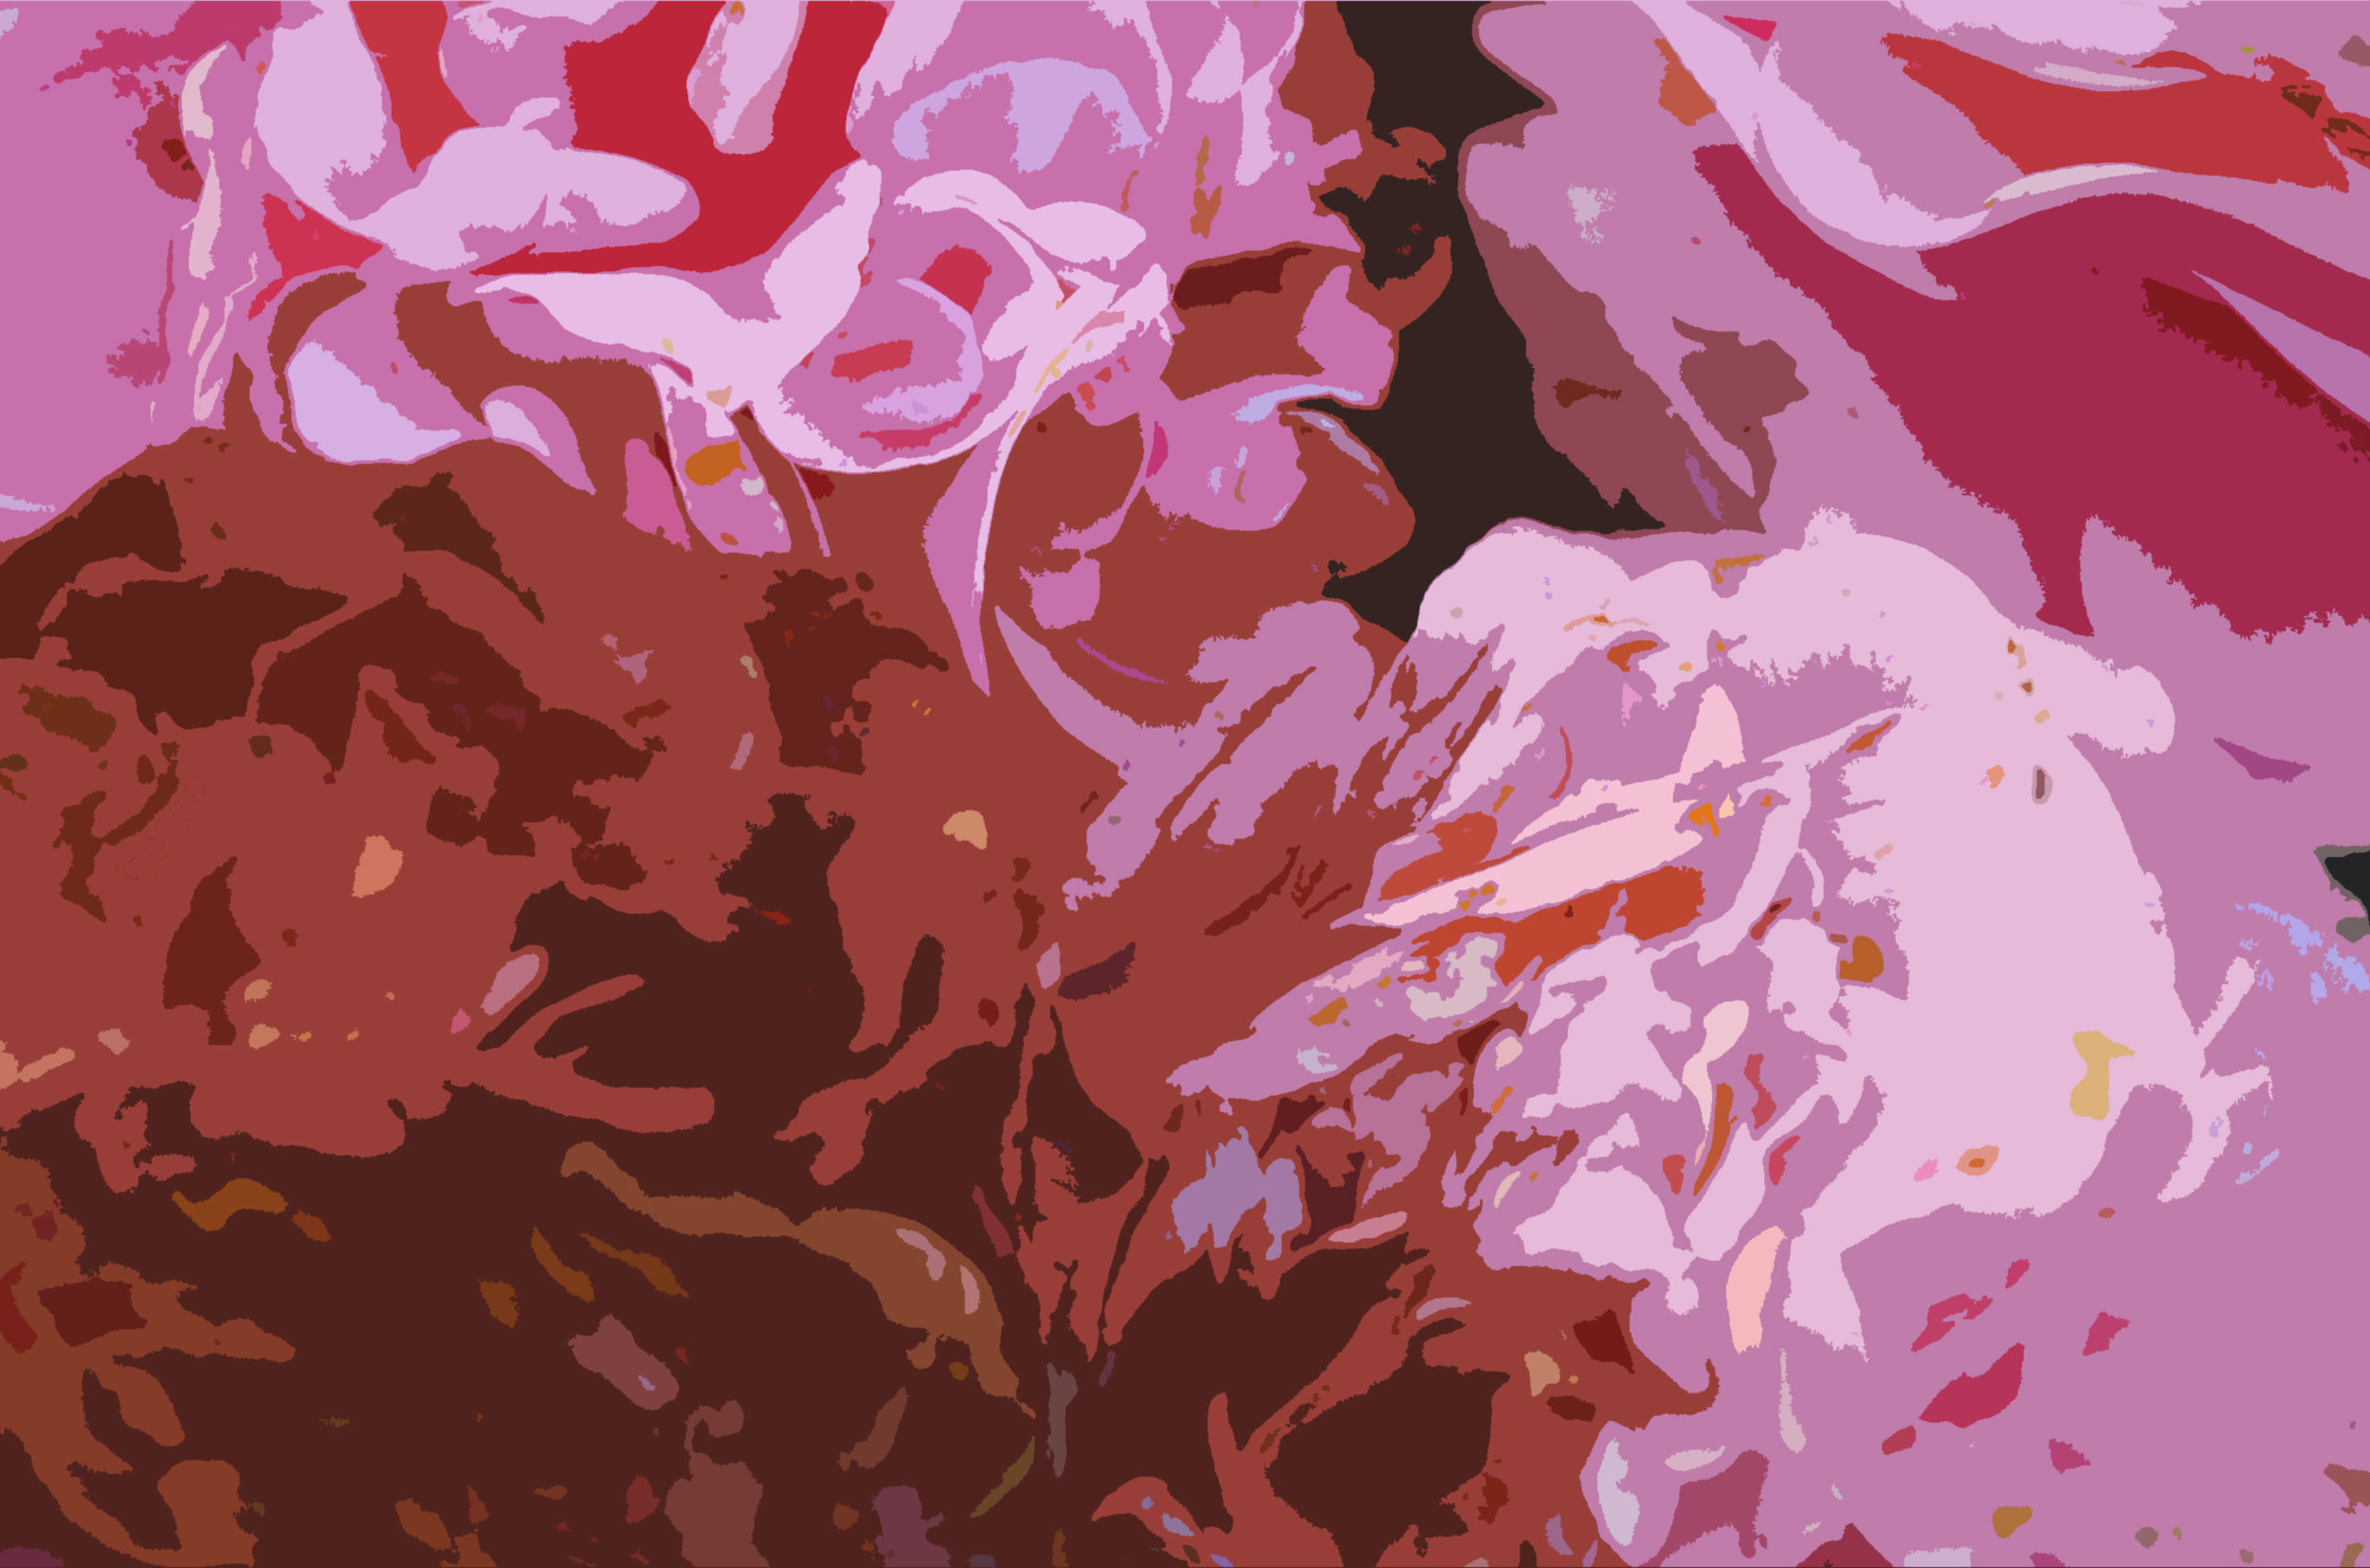
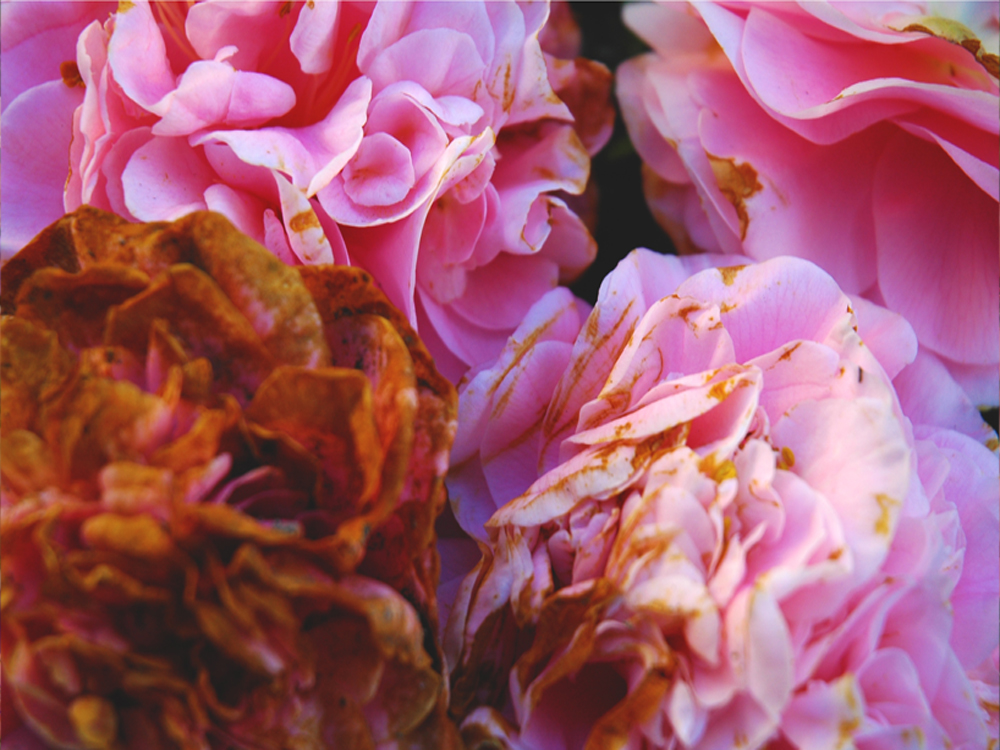
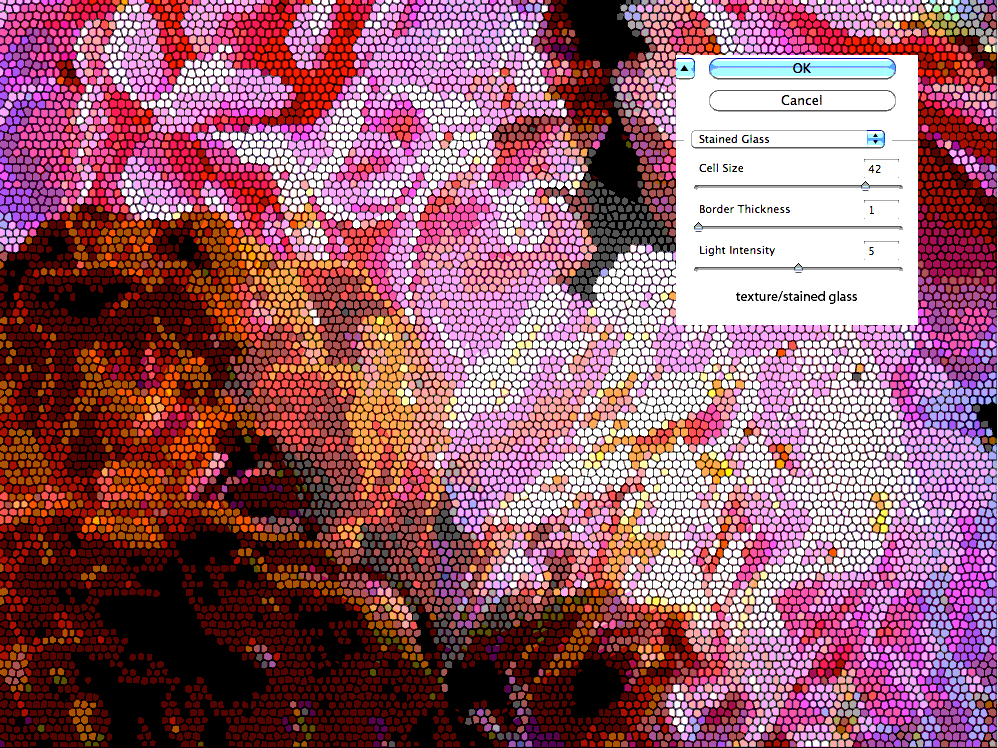
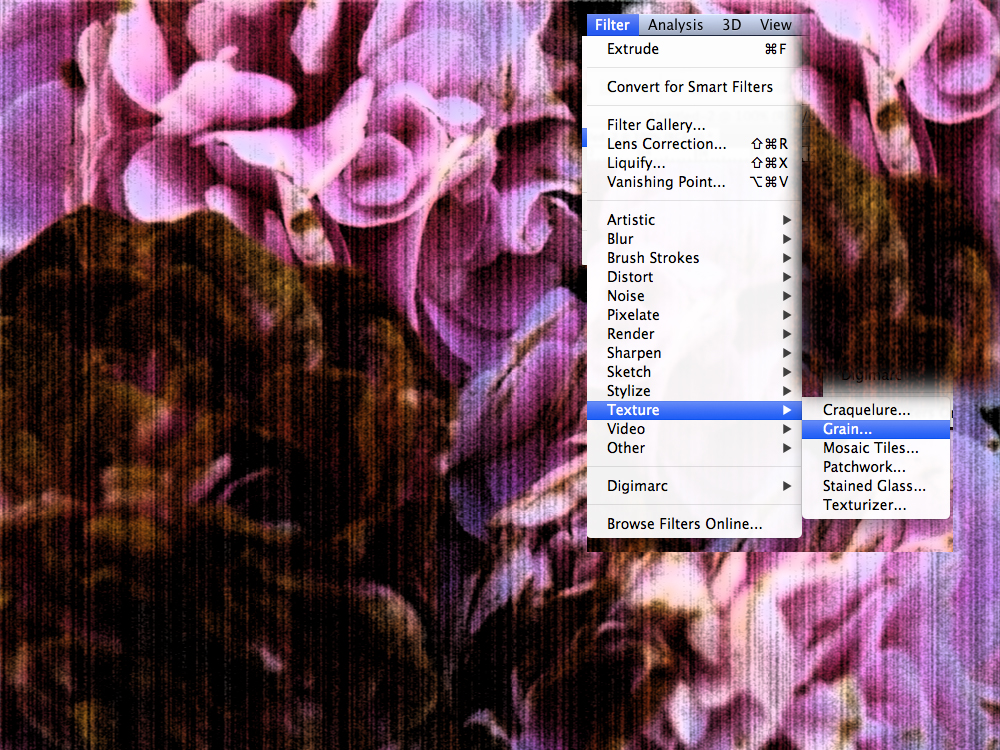
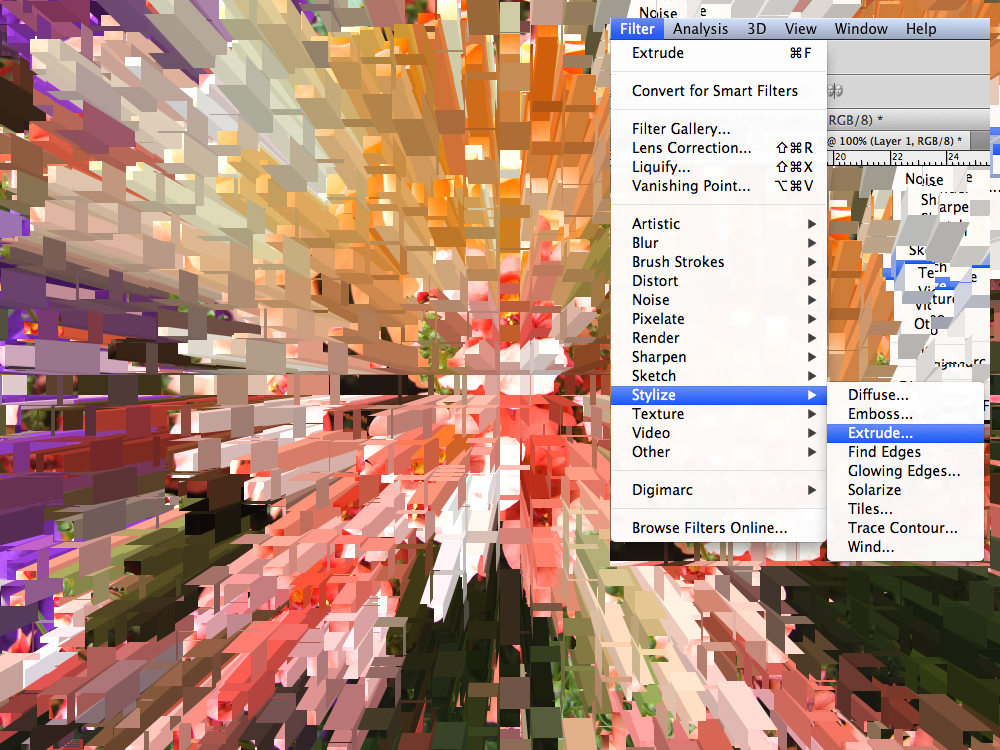
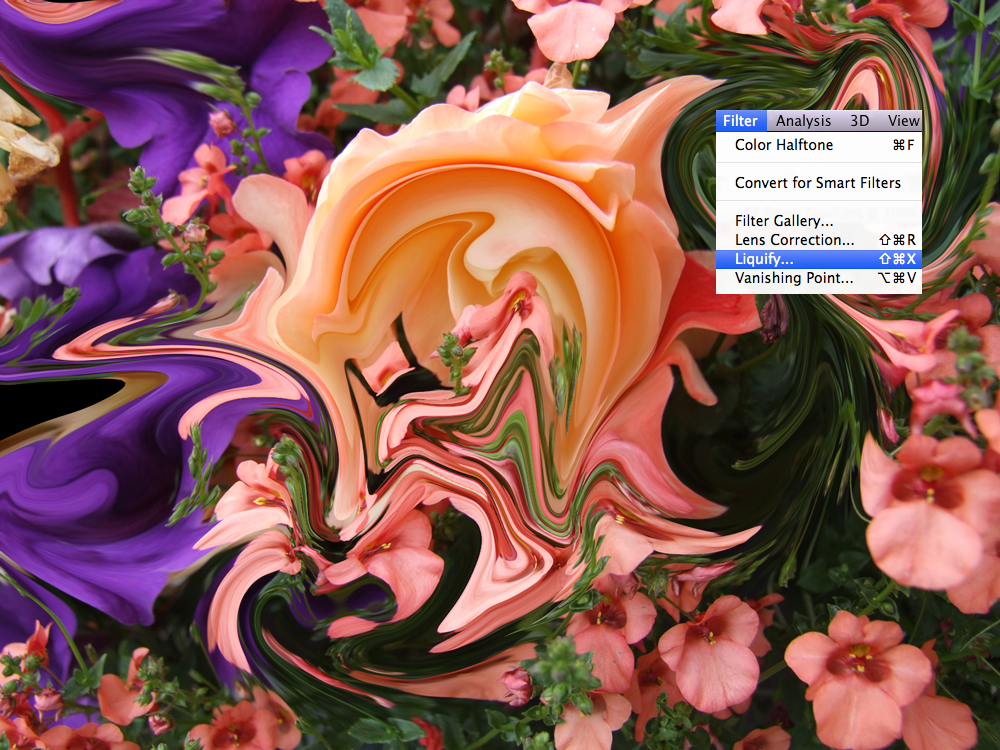
Den första bilden nedan är min originalbild som jag utgick ifrån. Du kan använda den för övningen eller hitta en egen bild. Andra bilder som följer visar exempel på ändringar i bilden med användning av FILTER i photoshop. Gå genom samma funktioner på din egen bild.

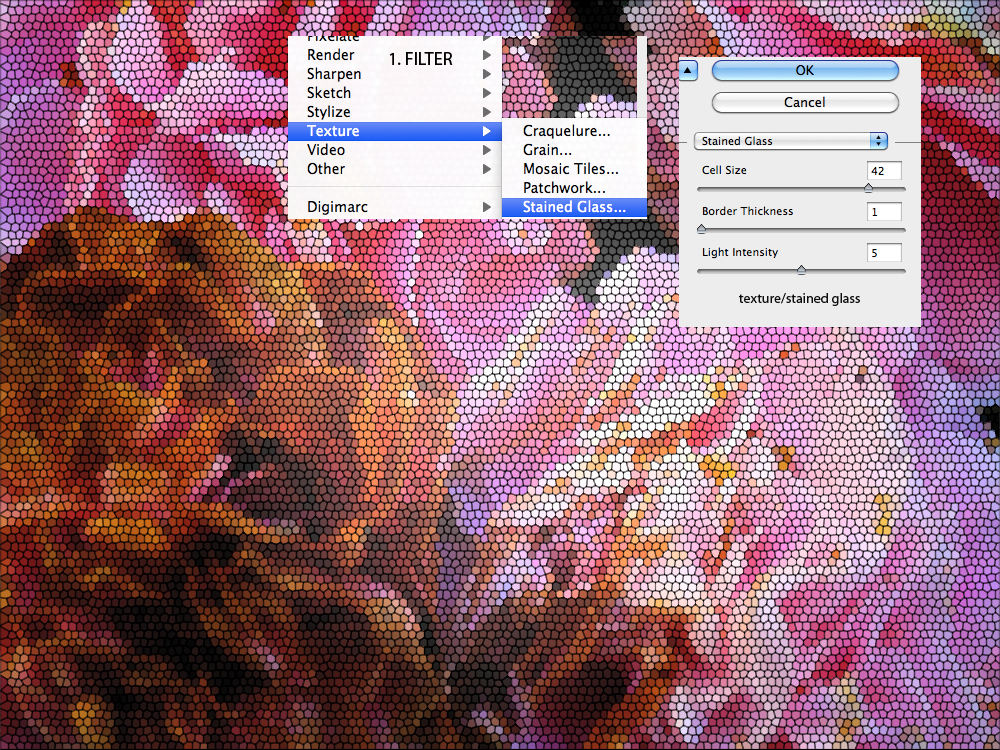
Den andra i raden av bilder nedan är förändrad med funktionen "STAINED GLASS" (lite otydligt på bilden)

Lycka till°

ex2.jpg
ex7.jpg